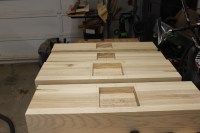
The base of the table is starting to take shape. Over the last two weeks I’ve been able to complete the milling and lamination of the table parts, join them together and started shaping the pieces.
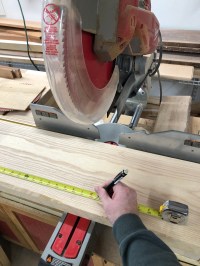
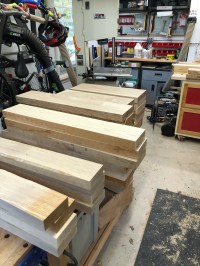
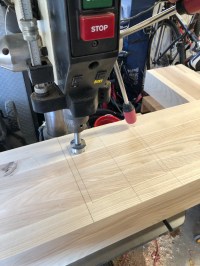
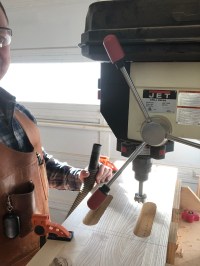
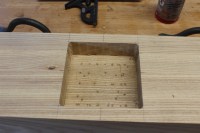
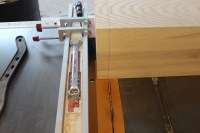
All projects begin with milling. I began by cutting the stock to rough size, jointing for flatness and planing for thickness. With all of the parts square on four sides, I laminated the boards together to create the hefty components of the pedestals. Each pedestal consists of a foot, column and arm. Before I start making them pretty, the joinery needs to be completed while all of the parts are still flat and square. The components are joined with huge mortise and tenon joints. The mortises were cut on the drill press tog out the waste and a router created the final square walls of the mortise. The tenons were made by cut the shoulder on the table saw and removing the waste with the bandsaw. Usually, I could cut all of the tenons solely at the tablesaw, but with pieces this large, the tablesaw just doesn’t have the capacity.
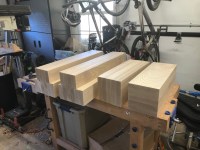
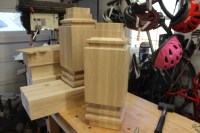
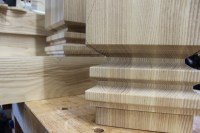
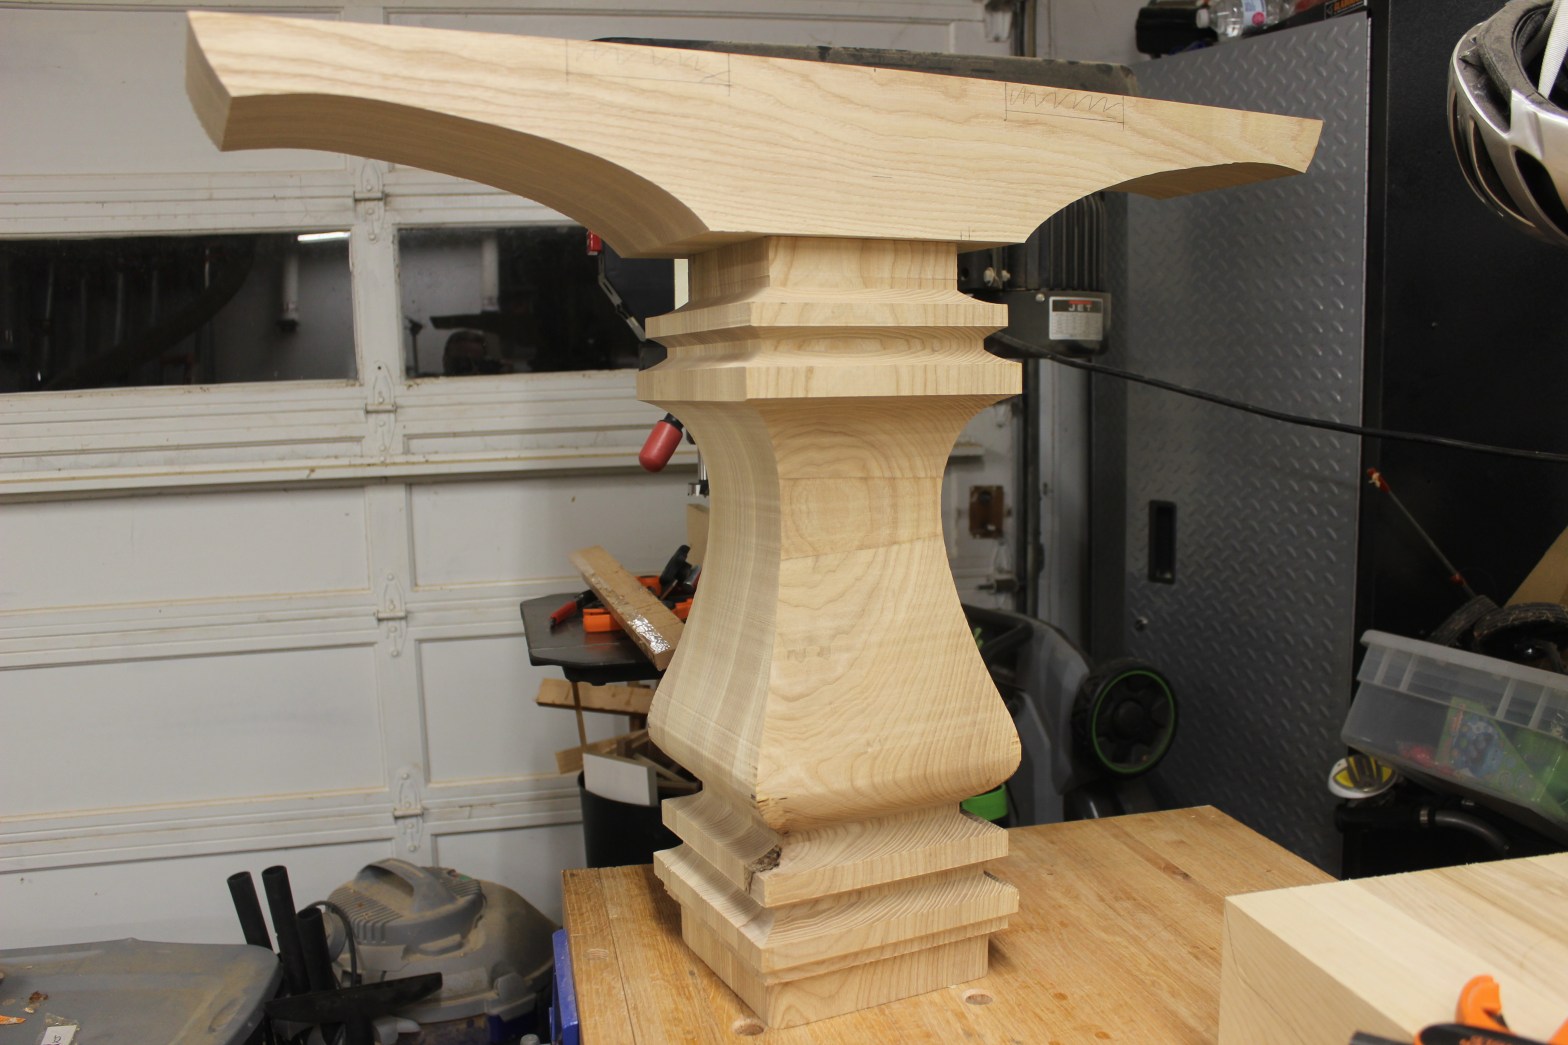
With the joinery complete, I began the shaping. I started with the small facets on the column. I hogged out as much waste as possible at the bandsaw and finished the shaping with a raised panel bit at the router table. This bit wasn’t intended for this purpose, but the shape of the bit is perfect or the small details in the column.
I finished up the week by cutting the sweeping curves on the column and the arm. Its really awesome to watch these chunky components take on their final character with all of this detail.