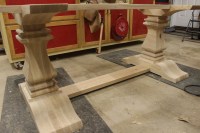
These were an exciting two weeks. There was a lot of woodworking that went into the table base. Most of my time was spent shaping the pedestals. With the column and upper arm completed, I finished the pedestals by shaping the feet and cutting the mortise underneath which receives the lower stretcher to create the trestle design.
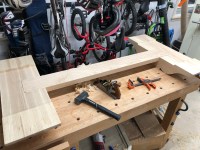
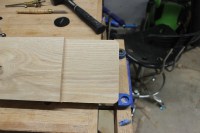
Next, I moved on to notching out the arms to accept the upper stretchers. I used a joint called a half lap where you cut half of each part away so the two pieces sit in the notch of the other.
With the joinery and shaping complete, I started the daunting task of sanding. I probably spent 12 hrs of sanding prepping every little facet and curve in the pedestals. Sanding isn’t fun, but its really satisfying seeing the rough parts take on their final look and feel.
In between sanding sessions, I tried out the “stain” that I’ll be using to age the wood. I’ll be using Rubio Monocoat on this piece which is a hard oil/wax finish. It provides a lot of water resistance compared to some of the older oil/wax finishes and you get the benefit of maintaining the natural look and feel of the wood. The company offers a line of aging treatment which is a water based stain that chemically reacts and bonds with the wood to change its color. I’m super impressed with this product . The color looks like it’s part of the wood instead of sitting on top of it like traditional stains.
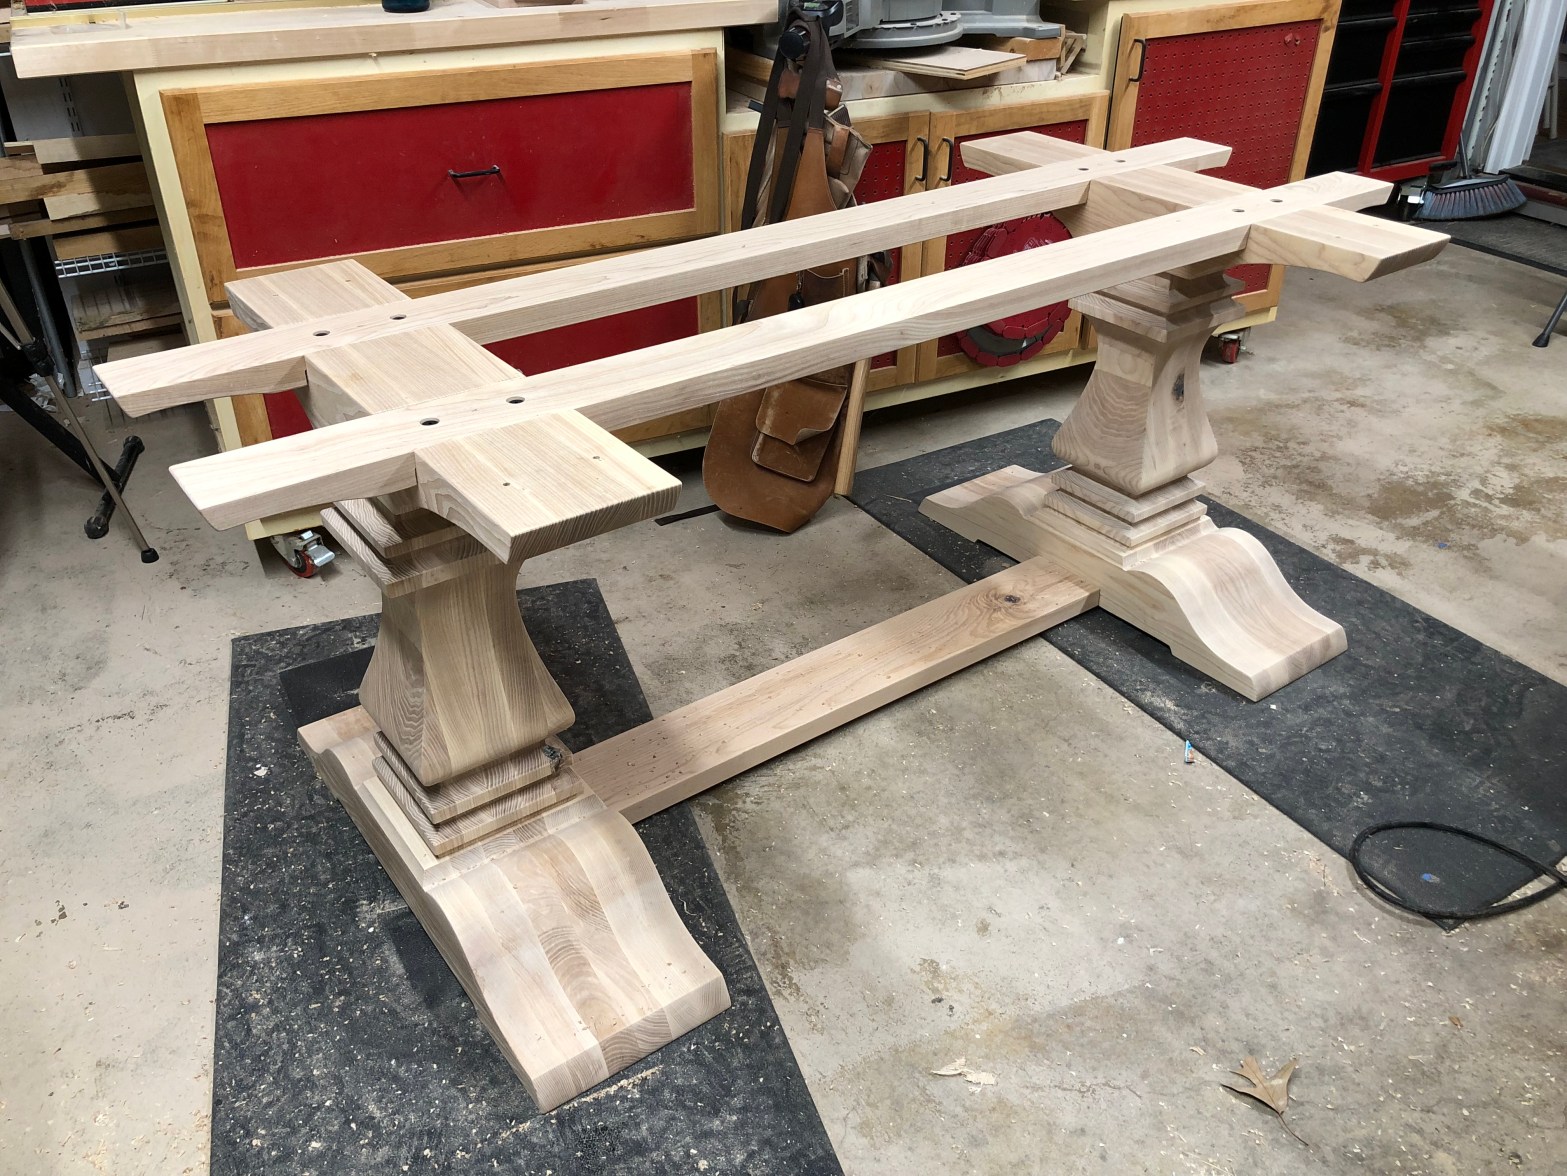
I finished up the week by drilling and installing the threaded inserts which will be used to attached the stretchers to the pedestals. This will allow the piece to come apart for transporting it. I would estimate the base alone to weigh around 200 lbs so there would no way of building this as one solid piece.