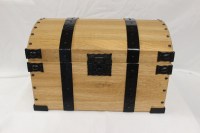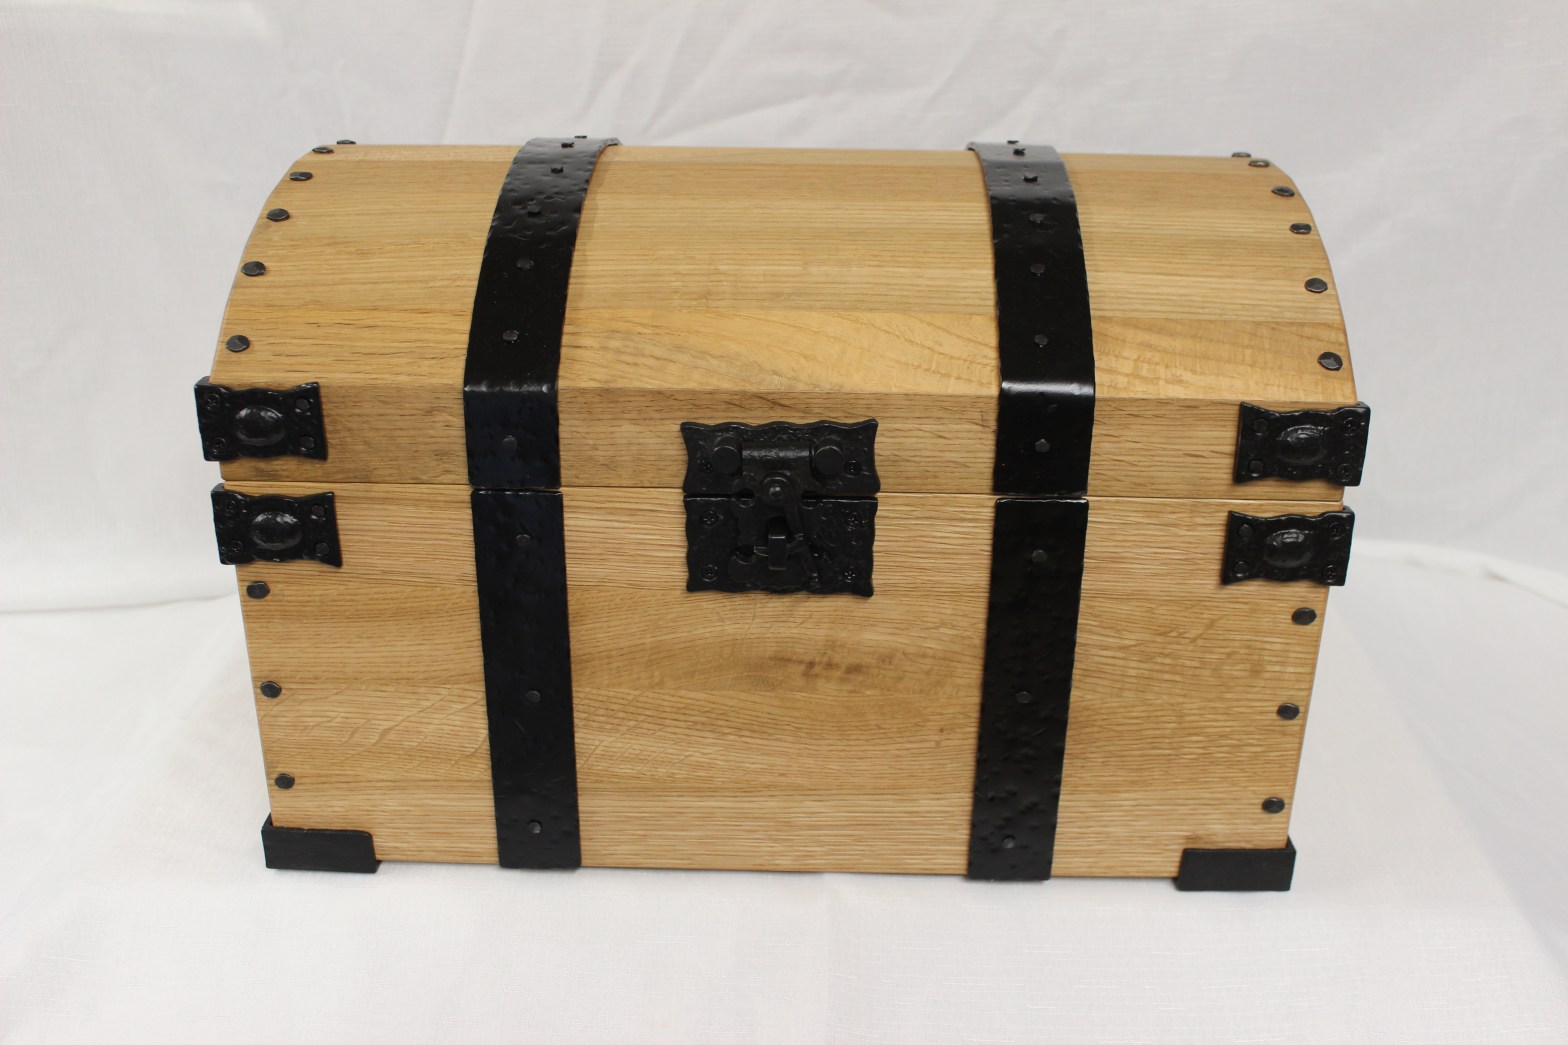
I’m really excited to have completed this White Oak treasure chest this week. This piece will be a Christmas gift for my client’s grandson who collects coins and other treasures with her. It was really fun stepping outside the box and tapping into my inner child to build something fun and magical.
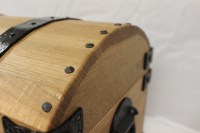
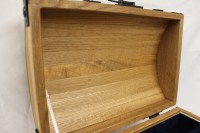
I started this build with the lid as it is the most complex part of the case. Its made with stave construction, like a wine barrel. Each strip is cut with a bevel which, when joined, creates a curved panel. The most challenging part of this for me was the glue up. I ended up using blue tape and temporary clamping cauls to get everything to come together tightly without slipping around. I was able to fit the end panels to the coopered top by first creating a template of the outside diameter of the radius. Then, with a rabbeting router bit, I removed the thickness of the top from the template to arrive at the inside radius. This worked better than I expected, and I was pleased with the fit.
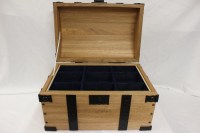
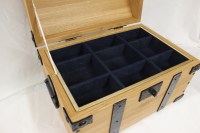
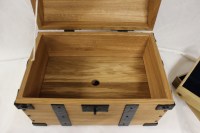
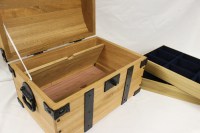
The main case is a simple box joined with a rabbet joint and a groove around the bottom to receive the bottom panel. This piece has so many unique characteristics that I also wanted to add a sensory element by using Aromatic Cedar for the bottom. Cedar is a softwood, and it was a little flimsy to use it alone as the bottom so I laminated the Cedar to White Oak to give it strength, and also to conceal the fact the something unique was inside the case. To add to the fun, I added a false bottom with two panels of White Oak that hinge up to expose the Cedar bottom. This will be a secret place to hide additional treasures!
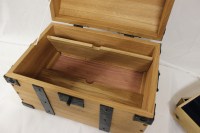
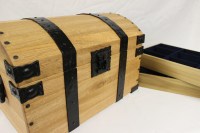
The inside of the chest features two trays for organizing coins & treasure. I had just enough flocking material left over from a previous project that I decided to refine the inside of the chest with these suede lined trays.
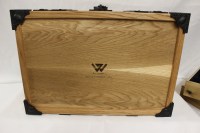
Although the woodworking is a major part of this build, the hardware is what gives it so much character. I chose black hardware with a hammered texture to give it an old world look. To create the strapping, I used aluminum bar stock and hand hammered it with a ball-peen hammer to give it texture and to shape it to the radius of the top. I secured the strapping with cut nails for an authentic look.
This piece was finished with Osmo Polyx Oil for a natural look and feel. I can’t say enough how fun this build was. I poured creativity into this one, and hopefully, this becomes a family heirloom for all of the kids to treasure!